Saturday, November 8, 2014

Integration of Selenium Webdriver with Test link


This Post will describe how to integrate Testlink- Selenium. i.e. executing the test cases and updating the status in the Testlink.

2 Different approaches which we can follow to achieve:
          1)  Using Eclipse-Selenium Web driver.
          2)  Using Jenkins-Selenium Web driver.

Before going to execute the test cases using Jenkins or Eclipse, first thing we need to do some Settings in the TestLink.
Edit config.inc.php file, go to line number 379, and add this line

$tlCfg->api->enabled = TRUE;

Test link:


1) API access Key-Test link :
This key will provide an interface between selenium web driver  test cases to Test link, to generate this key, go to Test link--> Setting--> API interface Section-- >Click on Generate Key.

2) Enable Test Automation(API Keys) :
     Go to Test link interface and Enable the check box for the Project which we have created for automation.

3) Create a Project in Test link.

4) Create test suite under project and write the Manual test cases and Select Execution type as Automated.

5) Create test plan, build and assign the test cases to the plan.

6) Create a Custom filed in Testlink (Java Class) add it to the project.


                                                 Create Test Plan under the Project.


                                  Create Custom Fields as “Java Class ” and assigned to the Test Plan.


                                               Add the automated test cases to the Test plan


After configuring all the above in the Testlink write the code into the eclipse using below code.

Eclipse-Selenium Web driver Test cases:

1)      Download Test link-api-client libs:

       Download “testlink-api-client.zip “file and add “testlink-api-client-2.0.jar”, “xmlrpc-common-3.1.jar”, “xmlrpc-client-3.1.jar”, and”ws-commons-util-1.0.2.jar” jar file in your web driver java project class path.  


2)       Write the Program in the eclipse for the test case and Click on execute it. After completion of execution, status will be update in the test link.

package com.sample;

import org.openqa.selenium.By;
import org.openqa.selenium.WebDriver;
import org.openqa.selenium.firefox.FirefoxDriver;
import org.testng.Assert;
import org.testng.annotations.*;
import testlink.api.java.client.TestLinkAPIClient;
import testlink.api.java.client.TestLinkAPIException;
import testlink.api.java.client.TestLinkAPIResults;

public class seltestlinkinte {

    private WebDriver driver;  
    // Substitute your Dev Key Here
    public final String DEV_KEY = "5hyg785g4y6287hvg8cjjd6903dg85v7";
 
    // Substitute your Server URL Here
    public final String SERVER_URL = "http://localhost/testlink-1.9.10/lib/api/xmlrpc/xmlrpc.php";

   // Substitute your project name Here
    public final String PROJECT_NAME = "SampleProject";

    // Substitute your test plan Here
    public final String PLAN_NAME = "SampleTestPlan";

    // Substitute your build name
    public final String BUILD_NAME = "SampleBuild";

    @BeforeSuite
    public void setUp() throws Exception {
         driver = new FirefoxDriver();             
    }

    @Test
    public void Searchitem() throws Exception {
         String result = "";
         String exception = null;
         try {
              driver.navigate().to("http://url");
              result = TestLinkAPIResults.TEST_PASSED;
              updateTestLinkResult("TC001-1", null, result);
         } catch (Exception ex) {
              result = TestLinkAPIResults.TEST_FAILED;
              exception = ex.getMessage();
              updateTestLinkResult("TC001-1", exception, result);
         }
         try {
              driver.findElement(By.id("searchInput")).clear();
              driver.findElement(By.id("searchInput")).sendKeys("shoes");
              result = TestLinkAPIResults.TEST_PASSED;
              updateTestLinkResult("TC001-2", null, result);
         } catch (Exception ex) {
              result = TestLinkAPIResults.TEST_FAILED;
              exception = ex.getMessage();
              updateTestLinkResult("TC001-2", exception, result);
         }
         try {
             driver.findElement(By.id("searchButton")).click();
             result = TestLinkAPIResults.TEST_PASSED;
             exception = null;
             updateTestLinkResult("TC001-3", null, result);
         }
         catch (Exception ex) {
             result = TestLinkAPIResults.TEST_FAILED;
             exception = ex.getMessage();
             updateTestLinkResult("TC001-3", exception, result);
         }
         String str = driver.findElement(
         By.xpath("//h1[@id='firstHeading']/span")).getText();                              
         Assert.assertTrue(str.contains("shoes"));
    }


    @AfterSuite
    public void tearDown() throws Exception {
         driver.quit();                                                     
    }
  
   public void updateTestLinkResult(String testCase, String exception, String result)throws TestLinkAPIException {
         TestLinkAPIClient testlinkAPIClient = new TestLinkAPIClient(DEV_KEY,
                                SERVER_URL);
         testlinkAPIClient.reportTestCaseResult(PROJECT_NAME, PLAN_NAME,
                                testCase, BUILD_NAME, exception, result);
    }
}


fig: 1

fig:2 (PASS)

fig:3(Fail)

Figure 1,2  & 3 are after executing the test cases


Configuration in Jenkins for Testlink automation

Monday, May 19, 2014

Selenium Integration With Jmeter...

Is Jmeter capable of doing Performance testing of an application with Selenium Scripts..?
Answer is yes, this is possible with Jmeter and Selenium Scripts written over in Junit.
  • Jmeter is having set of samplers of doing Different operations. For Integration we have sampler Known as "Junit Request", this can be used to execute tests written in Junit 3 or junit4 (Selenium)
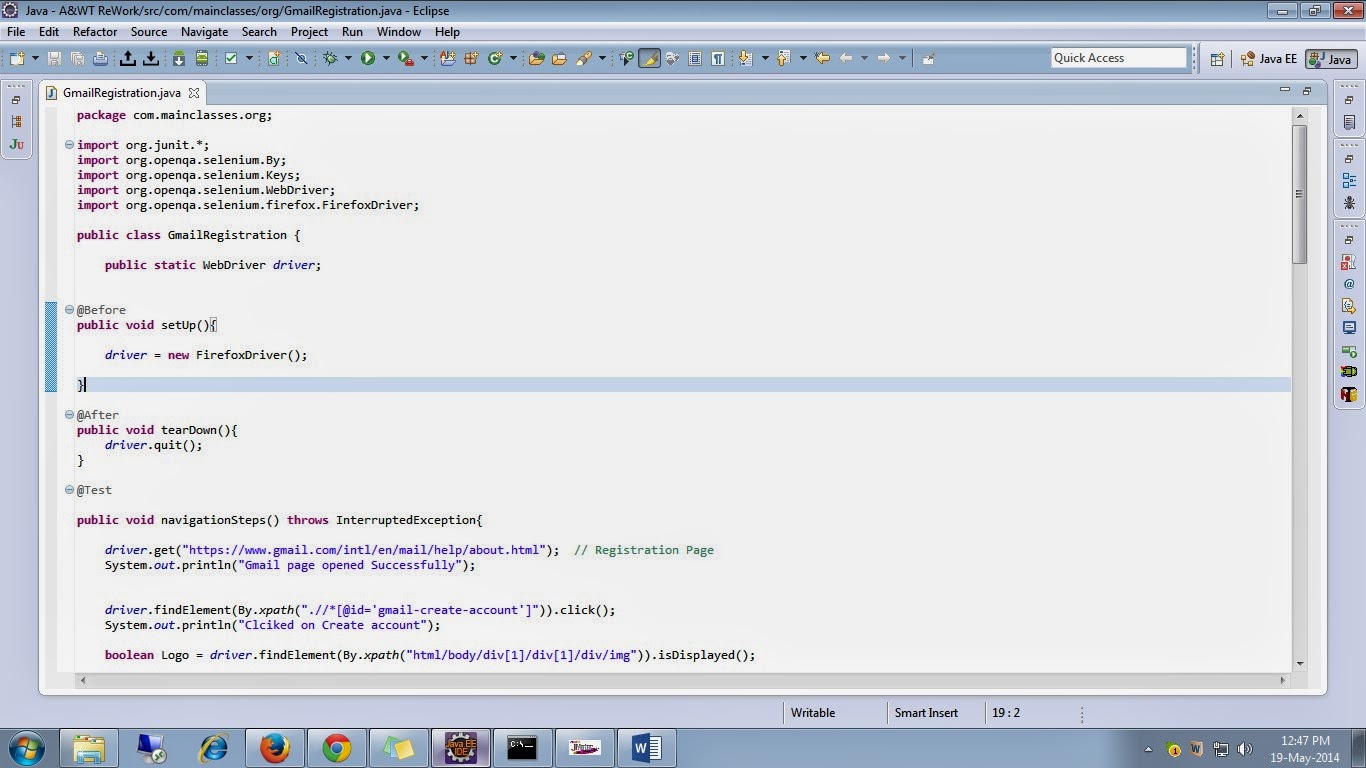
  • A test Script written junit4 uses Junit annotations, below is the example of the Scripts which is written in Selenium Junit 4


For Total Script click on this Link....... Selenium_JunitScript

Once the Scripting is done , Export them as jar files .To export to jar files right click on the project folder -> select Export-> Expand Java folder -> Click on Jar files -> Click next -> select the resources to export -> check the option “Export java source files and resources”-> Choose destination -> finish


Copy the Jar file and paste it in the Junit folder under lib folder of Jmeter. Here is the path in my system “D:\apache-jmeter-2.9\lib\Junit”.

Before proceeding further, Download Selenium Standalone Server at this location “https://code.google.com/p/selenium/downloads/detail?name=selenium-server-standalone-2.39.0.jar
  • Copy the Selenium Standalone server jar file to the lib folder of Jmeter
  • Now open Jmeter, Create a Thread group{right click on testplan-> Select ADD-> Select Thread(users)-> Select Thread Group}
  • Create a "junit Request"{Right click on Thread Group-> Select Add-> Select Sampler-> Select Junit Request}
In the two drop downs (Marked as red) one could be the tests that are created using Junit4 i.e. by extending the Test Case class (Classname)

-          In order to see the tests that are created using Junit annotations, just check the check box “Search for Junit4 annotations” and drop downs would populated accordingly
-          Add the listeners to see the results{Right click on Thread group->Select Add-> Select Listener}
-          Select the test method we want to execute from the “Test Method” drop down and run the test(press Ctrl+R)
-          It will launch the browser and perform the actions as per the test scripts.
-          And finally we can view the results in the listeners. “View result tree in Table” and standard Deviation, Throughput, Mean, Average, Minimum and Maximum time that the samples took to execute could be noted from the “Summary/ Aggregate” reports.

The results are looks like below.........    :)


Saturday, April 12, 2014

Wait for the element Present in Selenium WebDriver(Explicit Wait)


In General , in Slenium Webdriver we have  two types of wait commands are available. implicit wait and explicit wait. 

 implicit wait :
It's global setting applicable for all elements and if element appear before specified time than script will start executing otherwise script will throw NoSuchElementException.  

    Thread.sleep() - It will sleep time for script, not good way to use in script as it's sleep without condition.

driver.manage().timeouts().implicitlyWait(120,TimeUnit.SECONDS)


explicit wait:  Wait for the element to be present

WebDriverWait explicit=new WebDriverWait(driver, 10);   // 10 in secs 

explicit.until(ExpectedConditions.visibilityOfElementLocated(By.id("element id"))).click();

Friday, March 21, 2014

Scroll Bar navigation in Selenium WebDriver

This Script can use  for  Scroll bar navigation in a  page


for (int second = 0;; second++) {
           if(second >=30){
               break;
           }
               ((RemoteWebDriver) Driver.driver).executeScript("window.scrollBy(0,200)", "");
               Thread.sleep(3000);
           }

Selenium WebDriver... Multiple Windows(Child Window and Parent Window)

For Navigating to child window form parent window, can use below command...


String Parent_Window = Driver.driver.getWindowHandle();
  for (String Child_Window : Driver.driver.getWindowHandles()) {

   Driver.driver.switchTo().window(Child_Window);
  }